Off-site Control4 Dealer of Record (Smart Home Pro) Change Process
Control4 customers have the ability to change their integrator using customer.control4.com. This process is designed to protect the privacy of customers and integrators.
Note: A customer cannot change their Smart Home Pro unless the project has been handed off to them in OvrC.
How customers change their integrator
-
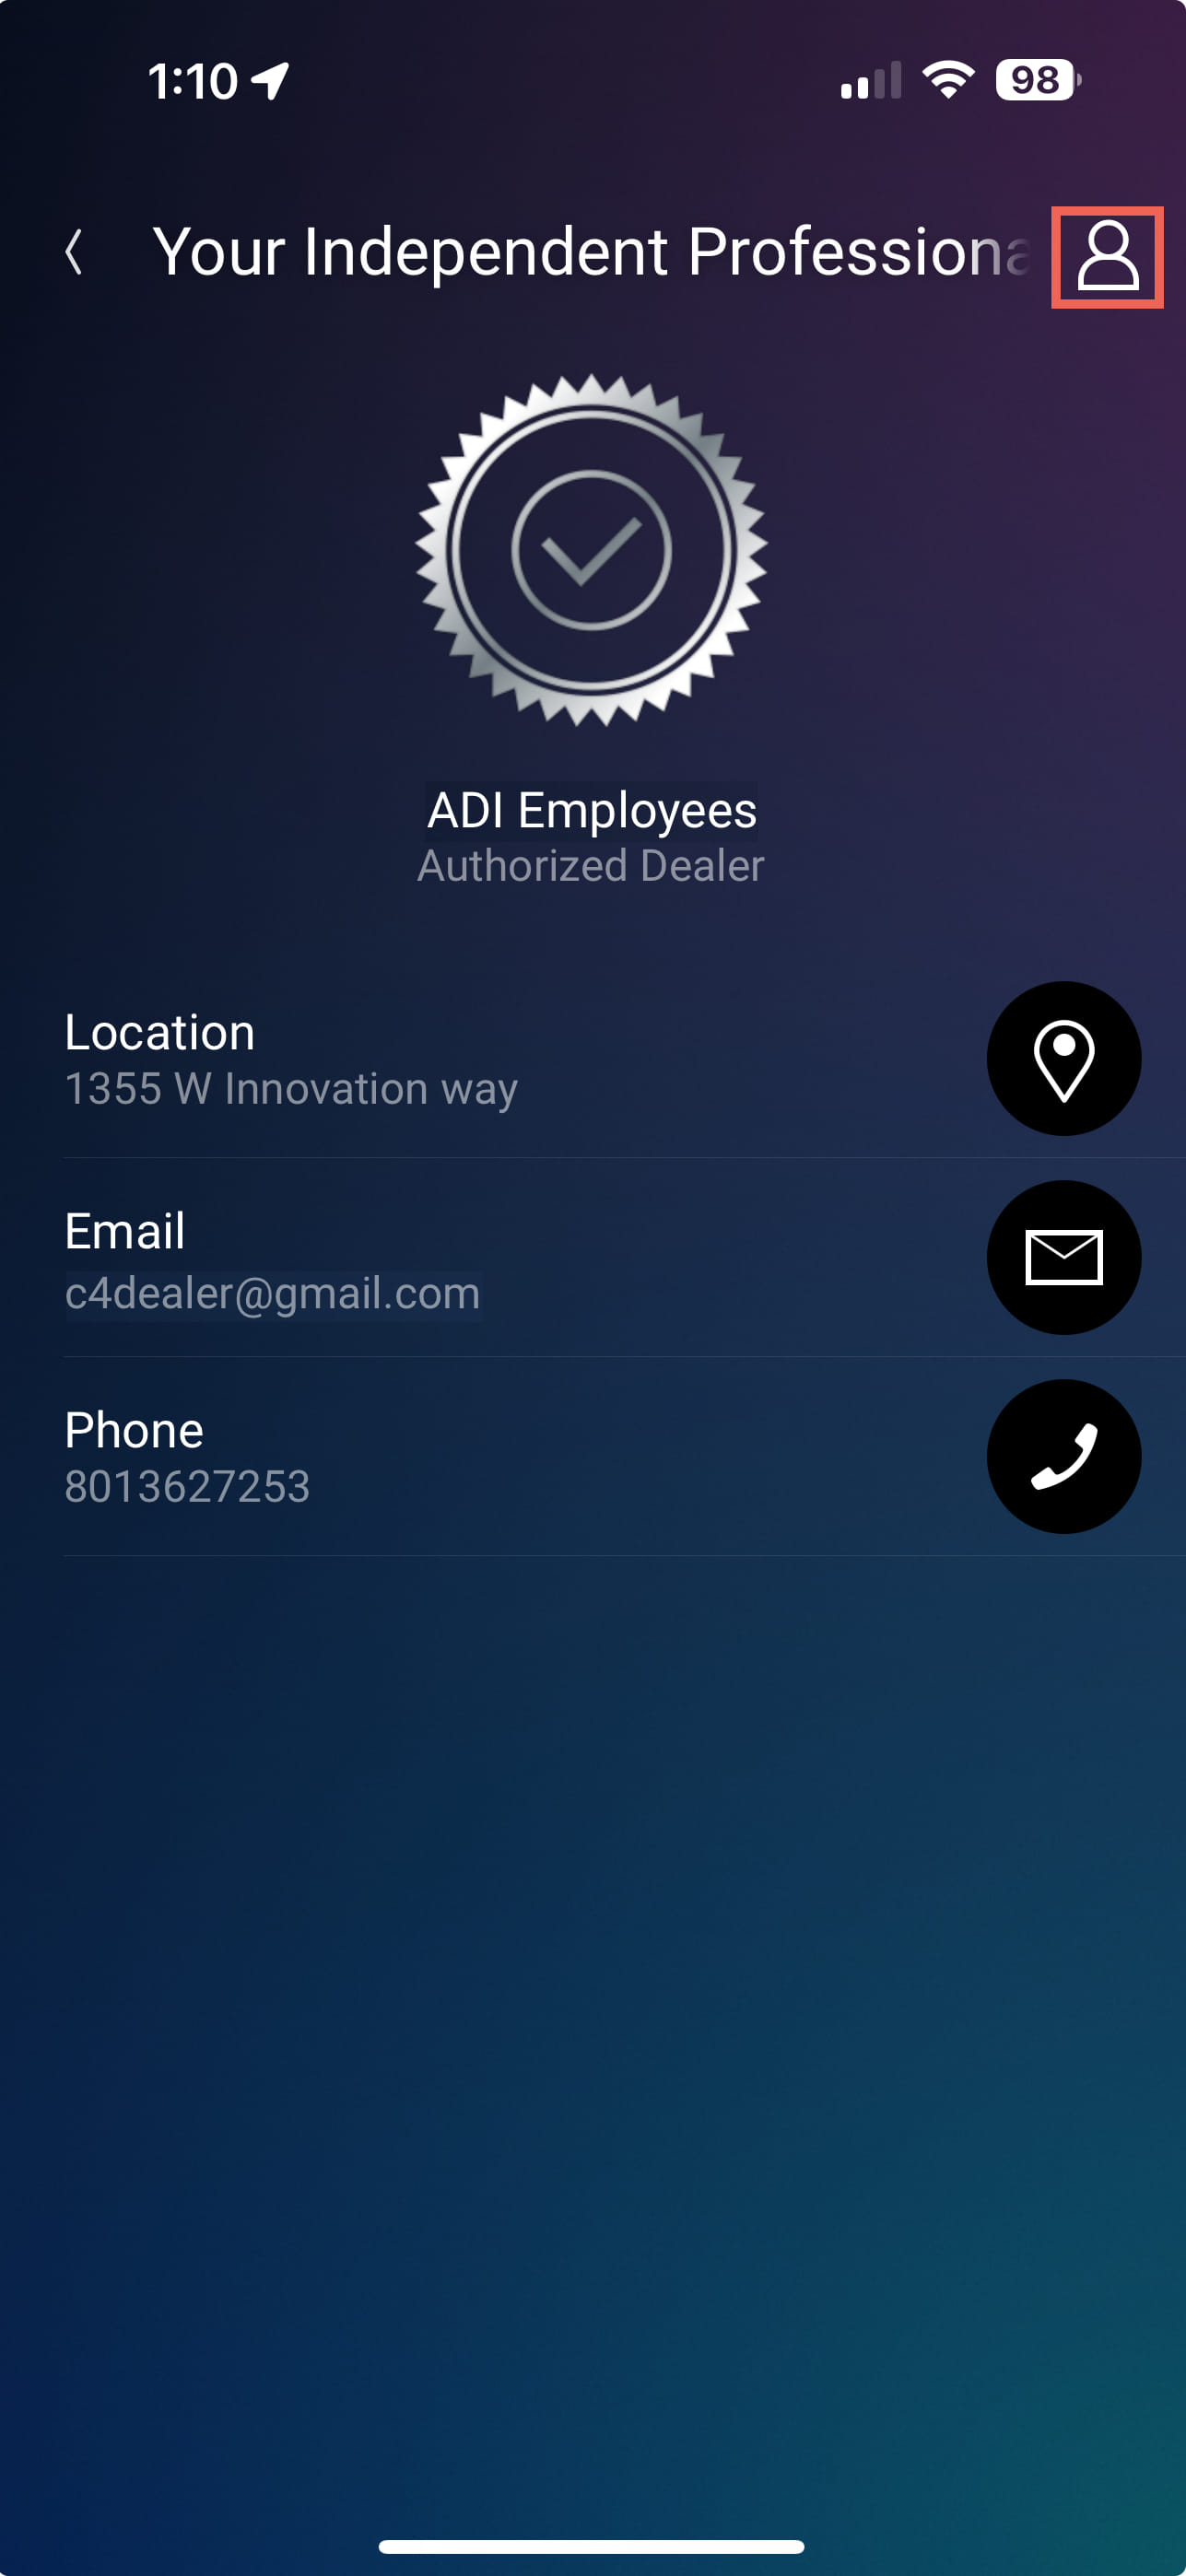
Log in to customer.control4.com using a web browser, or by opening the Control4 mobile app and going to Settings > Support > tapping Your Independent Professional Integrator, tapping the person icon in the upper right corner, then tapping Change Your Pro.

-
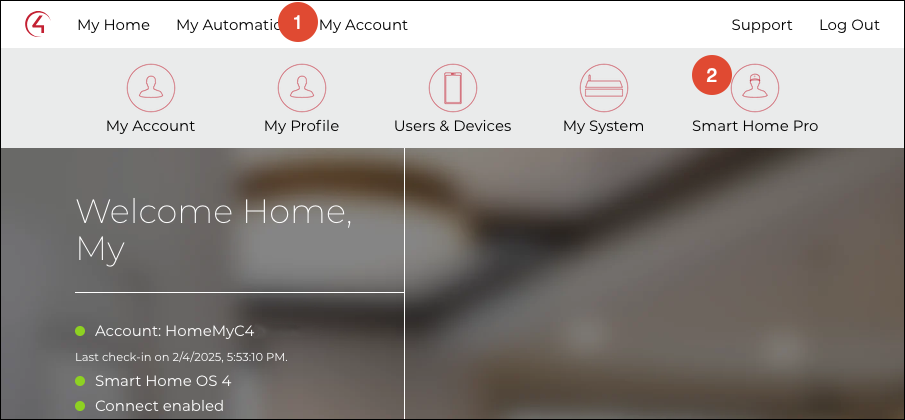
Go to My Account > Smart Home Pro.
-
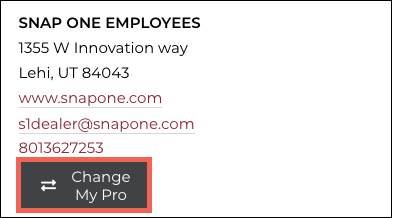
Click the Change My Pro button, under the integrator info. If the customer's controller is not registered in OvrC, the process is done. See Control4 Dealer of Record Change with Controllers Not Registered in OvrC for more details.
-
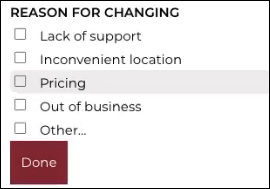
The customer must select a reason for changing integrators.
-
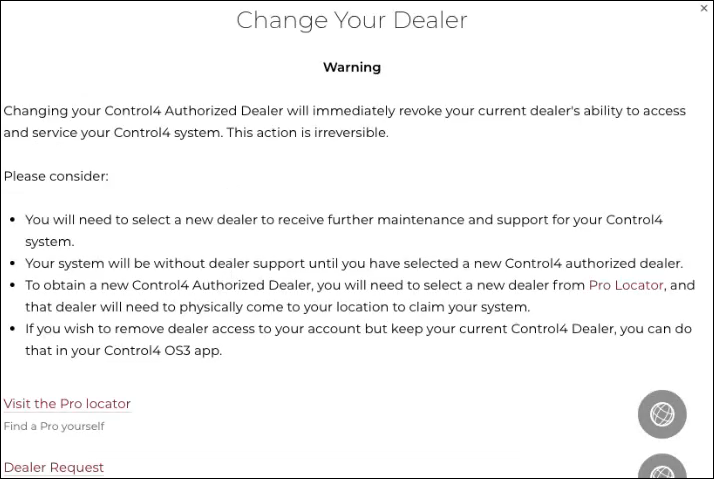
The customer receives a pop-up explaining the process and that they won't have support or maintenance until they find a new system integrator. They can use the Visit the Pro Locator or the Dealer Request link to find a new integrator.
-
The customer must scroll down the page to verify they understand, then click Continue.
-
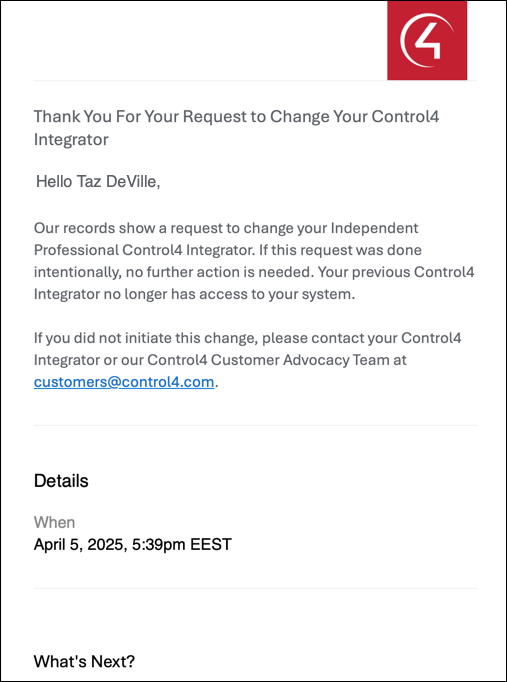
The page refreshes and displays that there is no longer an integrator for the system and an email is sent to the confirm the change request has been made, what to do next, and why an integrator is important.
This moves the customer's OvrC account from the previous integrator to a Holding account.
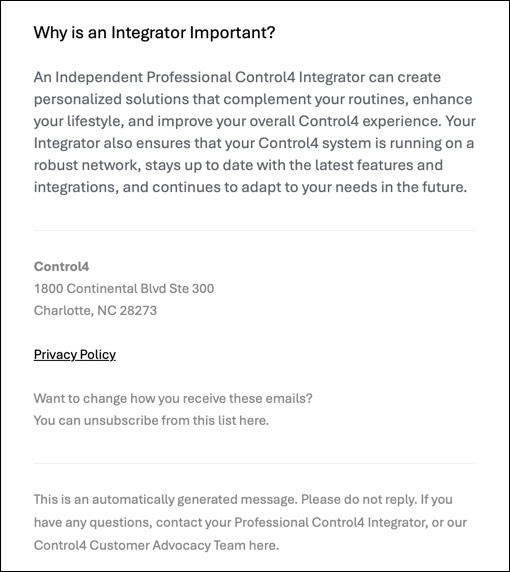
Click here to see examples of the emails sent to the customer and integrator.

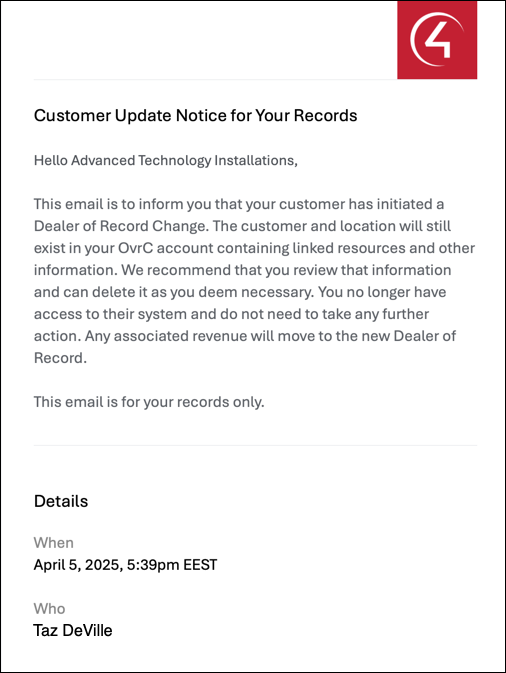
An email is also sent to the dealer of record for that account.
-
After the customer finds a new integrator, they type the company name into the Search by Pro name field, then select them from the list of suggestions.
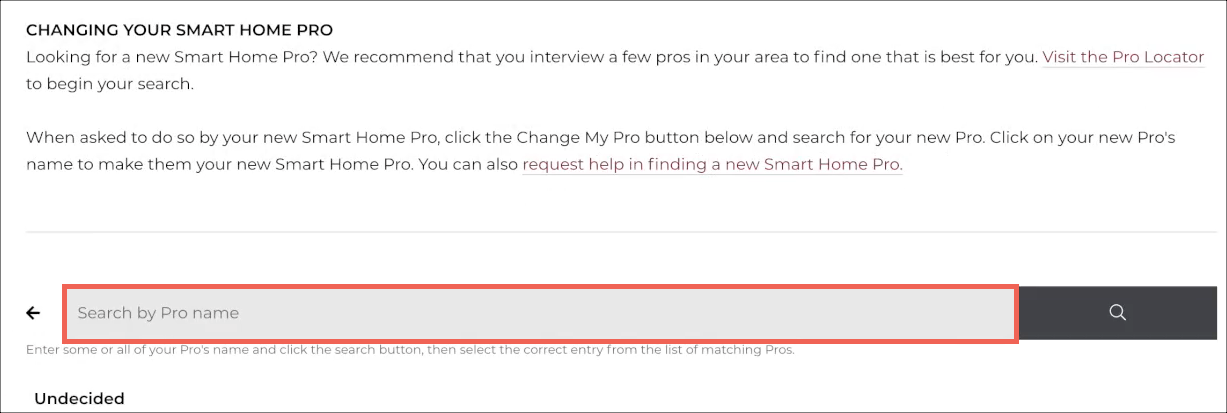
-
They have to confirm that they've selected the correct one.

The page refreshes to show the company name, address, and contact information with a Pending Response message.

How to accept a new customer
-
Log in to your OvrC account and go to the Customer List.
-
Expand the New Customers Pending list.
-
Verify the customer information, then click the Accept Customers button.

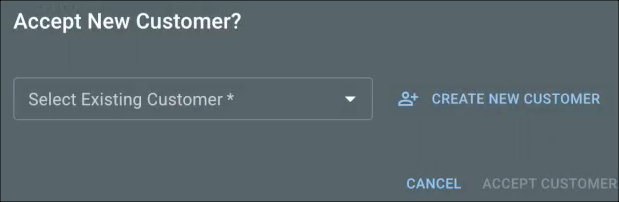
-
In the new window, either Select an Existing Customer to transfer the location to and click Accept Customer, or click Create New Customer.
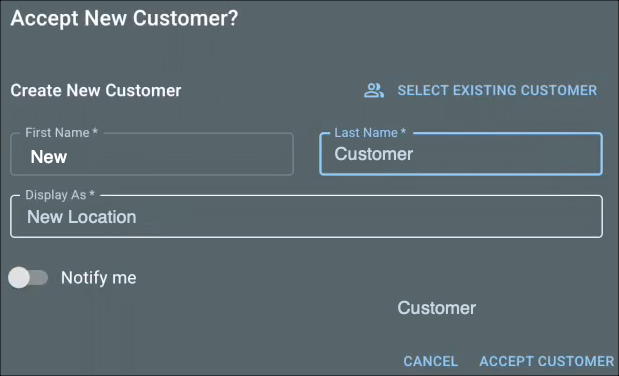
-
If you choose to create a new customer, enter their First and Last Name, and the Display Name. Enable Notify Me if you want notifications from the Location, then click Accept Customer.
FAQ
The customer is notified by email and instructed to select a new dealer on customer.control4.com.
They still appear as a pending customer in OvrC.
The entire customer Location, including:
-
Claimed devices (even offline devices) and their configuration.
-
Notes taken in the OvrC location.
-
OvrC Connect users.
-
The customer.control4 account and any revenue share from Control4 Connect and Assist on the second month following the system takeover.
They do not receive the Linked Resources, information about the previous integrator, or the Notification settings. Notifications must be reconfigured.
Note: System Takeovers do not reset the username and password for individual devices. Use our Resets & Restores page or the product manuals for device reset instructions.
The customer's Location remains in the original integrator's account, but the device list, configuration, and client services are no longer available. The Linked Resources remain with the original integrator. It is safe to delete Locations that have moved to another integrator's account.
Yes. You can still perform an How to perform an OvrC System Takeover , if the customer has initiated the Change My Pro process.